How to use Numbered Headings
Enable Numbered Headings on any page
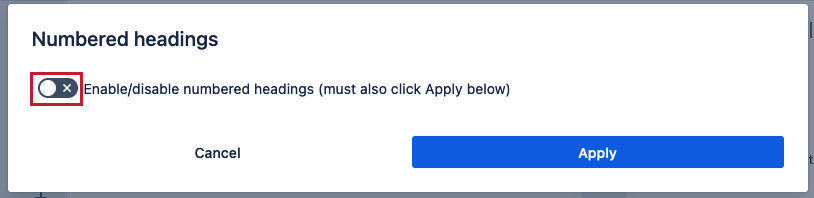
On any page in the menu bar click on the “Numbered headings” toggle:

You will get a popup. Click to enable:
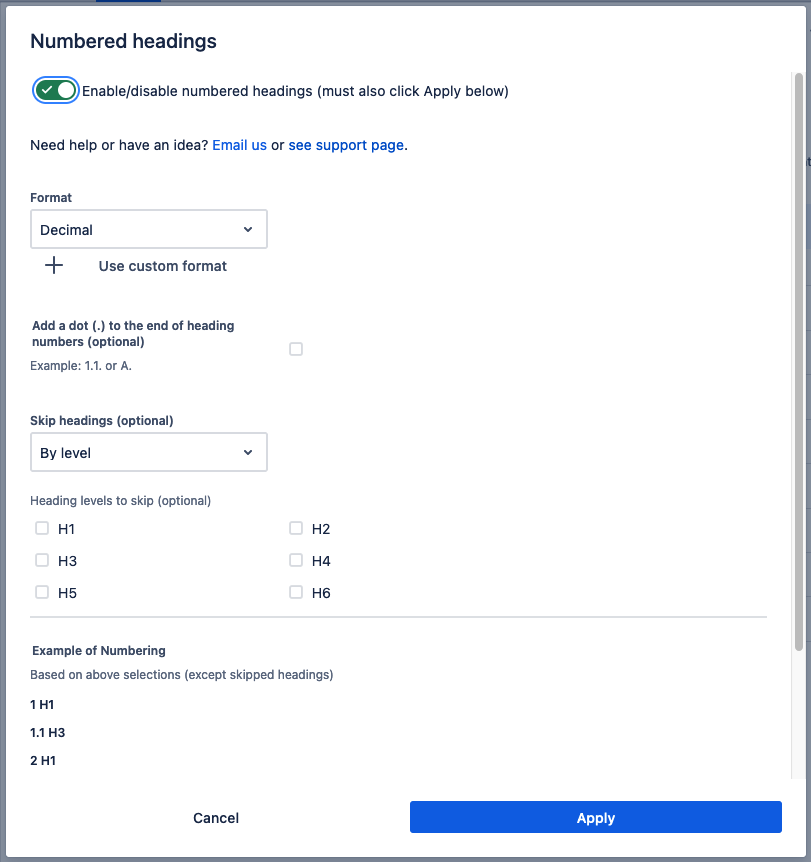
This opens configuration:
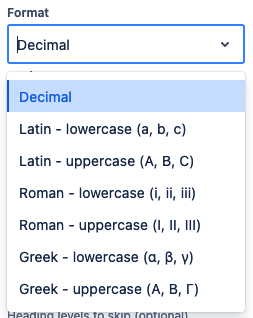
Choose numbering format
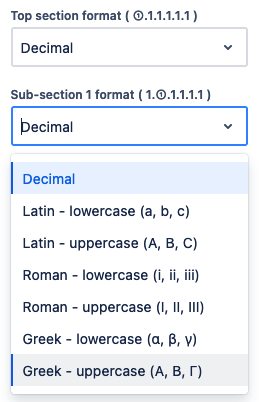
The drop-down has all the common numbering formats. Choose one:
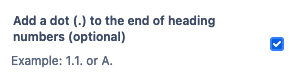
If you want a dot after each numbering check this box. By default it is not checked. This is a popular feature:
Optional: custom formatting
If you want to specify formats by section (e.g. 1.a) then click on Use custom format.

This opens custom formatting:
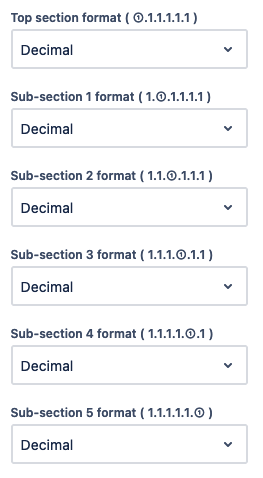
Choose a formatting option for each section:
Optional: skip headings
The default is By level.
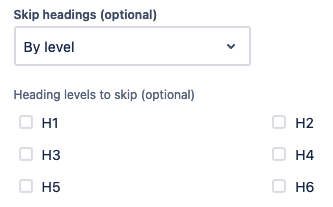
Select the heading levels (H1-H6) not to number. The ones you select will always stay the same as the original text, meaning they will be ignored by Numbered Headings:
By search terms is used to not number headings that contain specific terms.
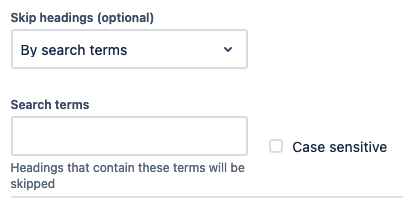
It works as a 'contains'. Example if you enter “New” and the header is “All new projects” it will be skipped because it contains the term “new”.
By default terms are not case sensitive. Check the box Case sensitive to make the terms case sensitive.
Preview
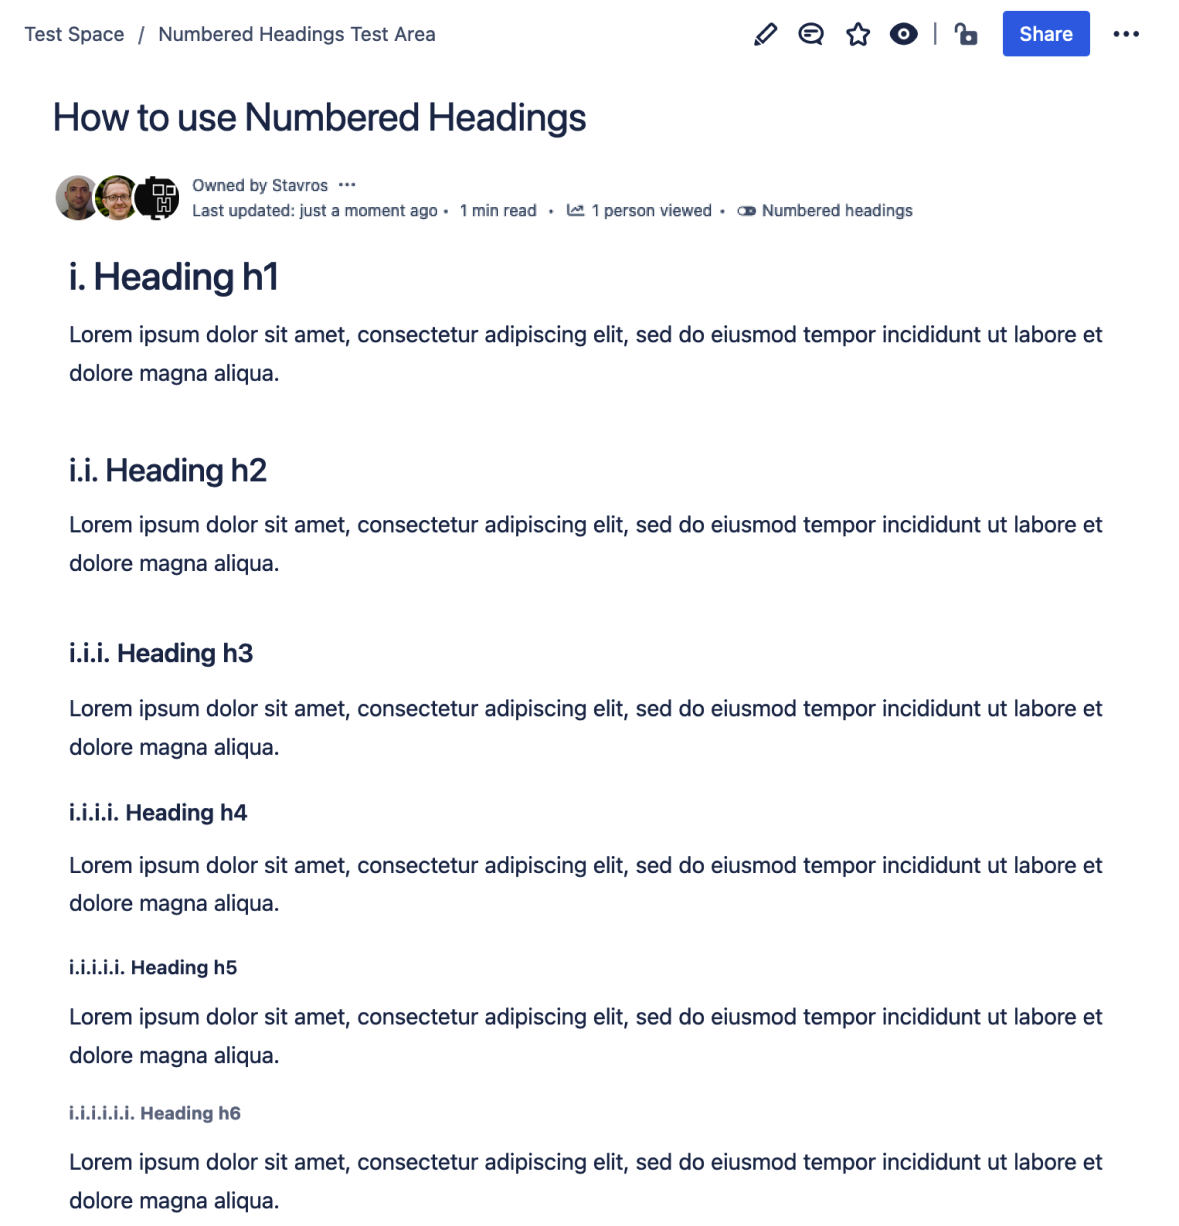
You get a preview of the numbering structure before you click Apply. In this example Roman - lowercase with a dot after were selected. It works no matter how customized your numbering format is.
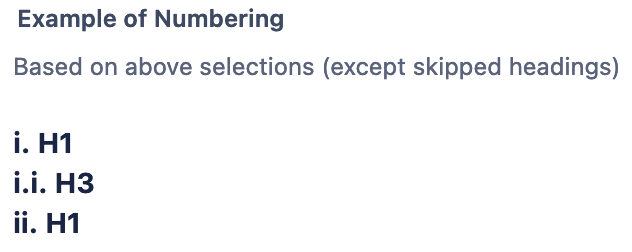
Note: it does not include the actual text from the page headings, it uses placeholder text. The goal is to show you the numbering structure so that you can apply with confidence.
Confirm changes

Reload page (required)
After clicking Apply you must reload the page to see heading numbers
Example of a result