

Install Redirection for Confluence app
You first must have the app installed by a Confluence administrator. Ask your Confluence administrator to install Redirection for Confluence from the Atlassian Marketplace.
Across Confluence create and manage redirects
Only Confluence administrators can bulk create and bulk edit redirects.
Go to Confluence administration
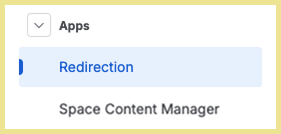
Under Apps click on ‘Redirection’
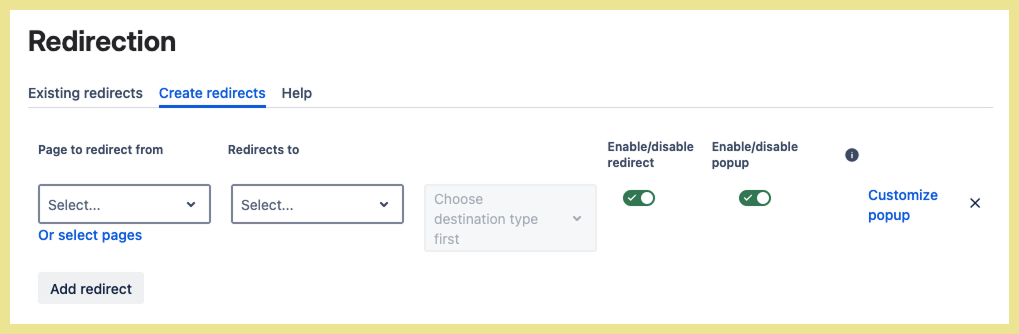
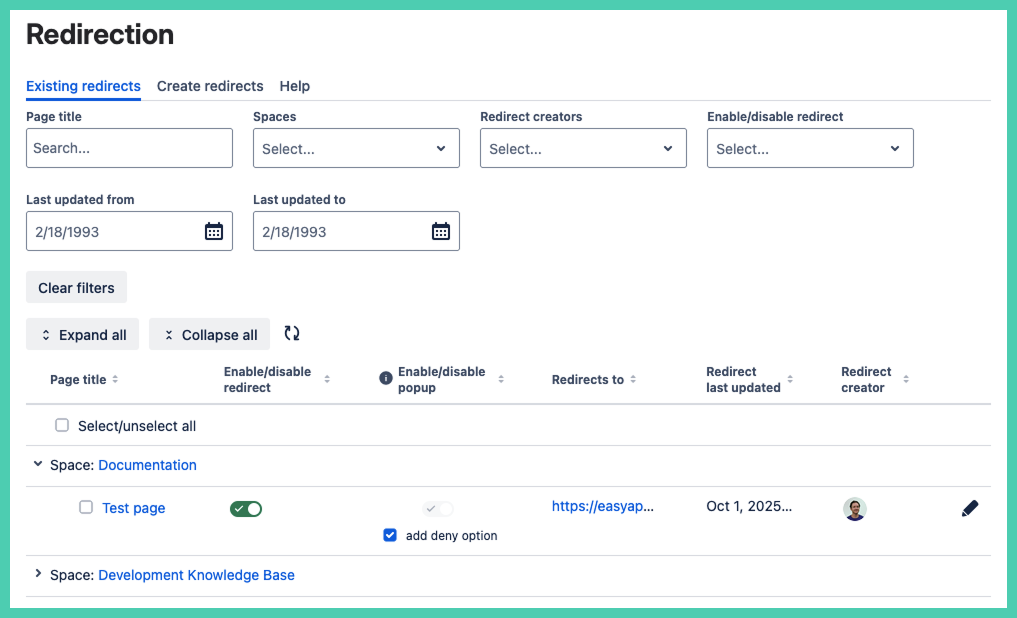
Create new redirects one at a time
-
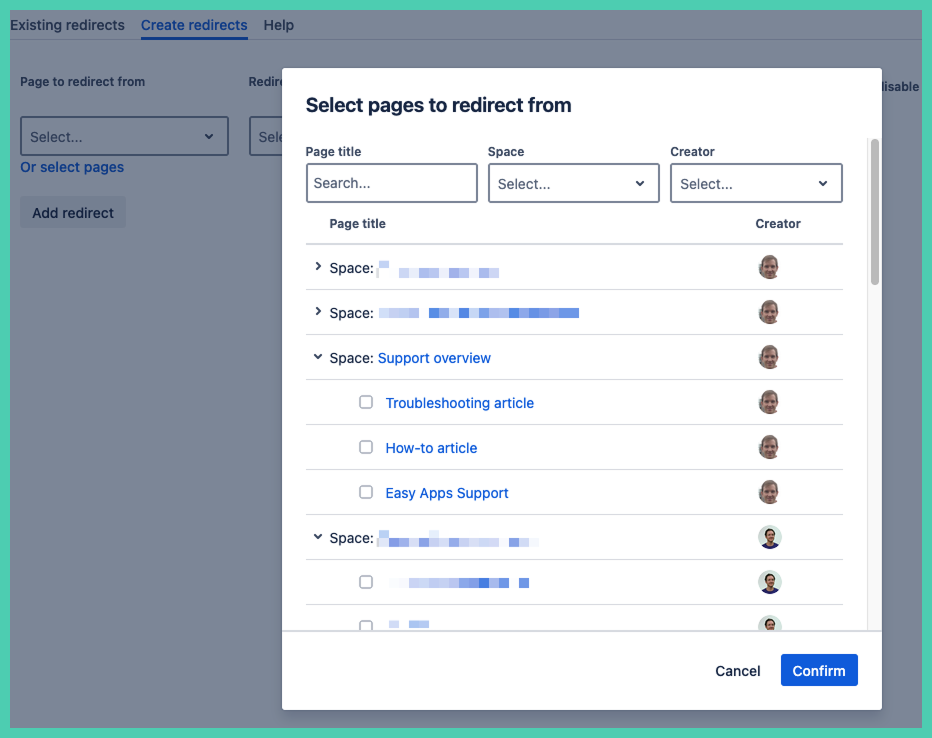
pages from Confluence are suggested as you search in the ‘Page redirects from’ and ‘Create redirects’ fields
-
disabling a redirect means the settings are saved but the redirect is not in place
-
popup
-
message that shows to users when they load the page
-
requires users to click to confirm redirection
-
can only be disabled if moving from one Confluence page to another Confluence page in the same instance (Atlassian requires a click to go to an external link)
-
Create new redirects in bulk
Edit existing redirects
-
click the edit icon on the column to the left to edit the content of the redirect including where the pages redirects to
-
to delete the redirect
Bulk actions
Select the checkbox in the first column for one or more redirects to use bulk actions.

-
in one action you can make the same change across multiple existing redirects
After clicking apply you will see a confirmation popup with a summary of the changes.
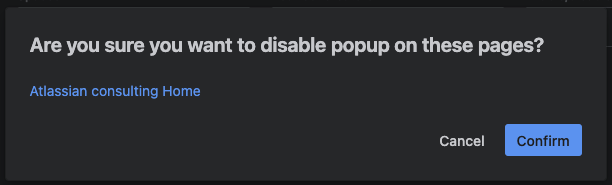
After clicking confirm a popup with a summary of the change will appear.

Single page create and manage a redirect
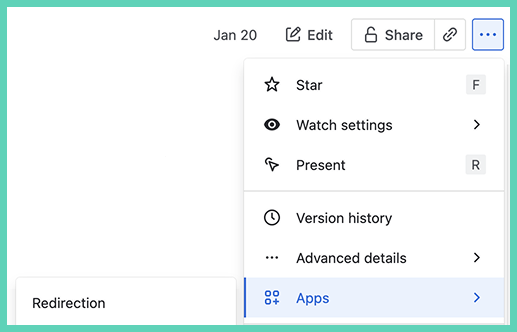
Open the app via More actions
On any page select ‘More actions’ to open the pull down menu. Then scroll down and select ‘Apps’ then 'Redirection’.
The fields are blank for a new redirect. Existing redirects, whether enabled or disabled, show what was previously saved.
To edit existing redirects, open the redirect under More actions. Do not use the macro at the top of the page.
Confluence administrations can also bulk add or edit redirects under Administration.
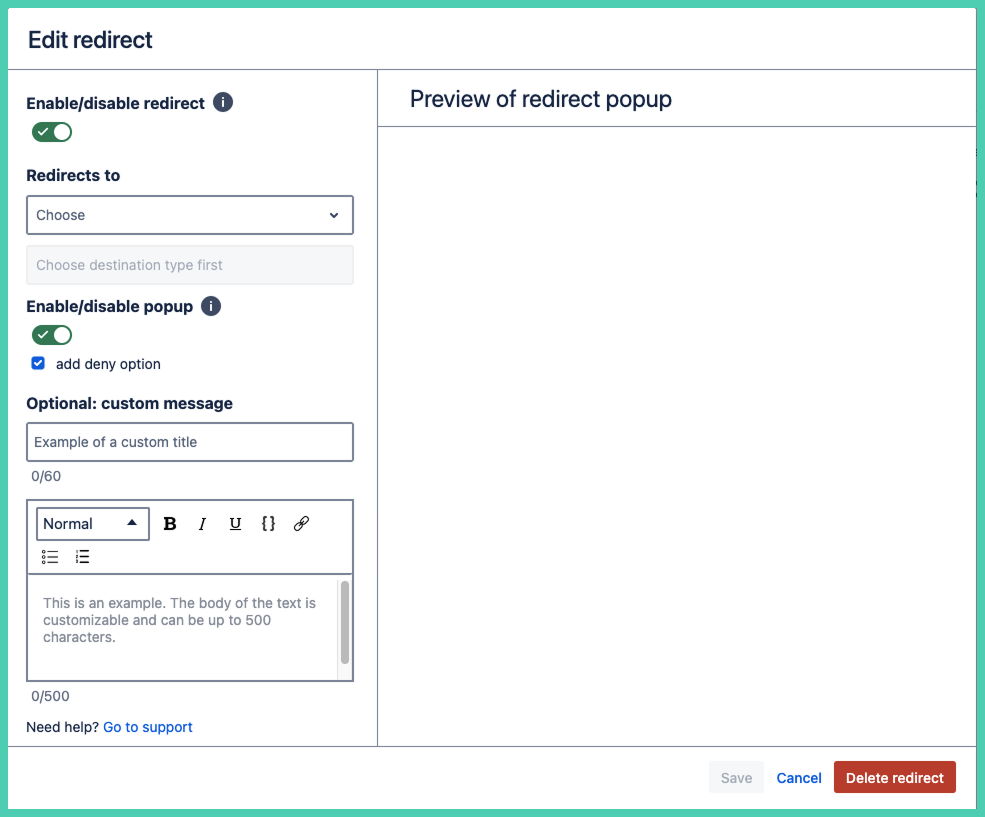
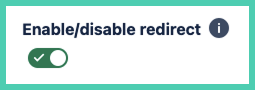
Enable/disable redirect

The redirect is enabled by default.
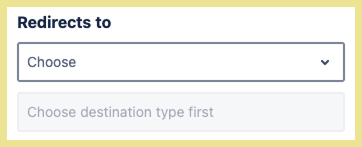
Choose destination type
You first must choose the type of page you want to redirect to.
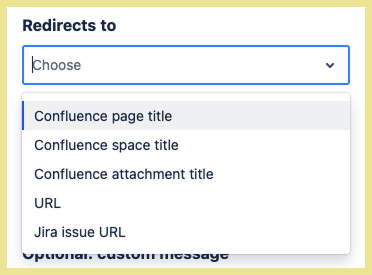
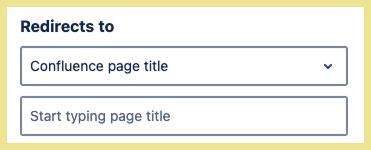
Then based on your response fill in the second field. Suggested search works if you are choosing a Confluence page within the same instance.
Option to remove deny

The default includes the popup message and the deny option.
Removing both the popup and deny make it difficult to get to edit mode. See technical notes.
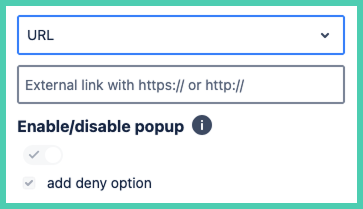
URL and Jira work item URL are both permanently enabled. They are greyed out as Atlassian requires a popup before going to external URLs. See technical notes.
Custom message (optional)
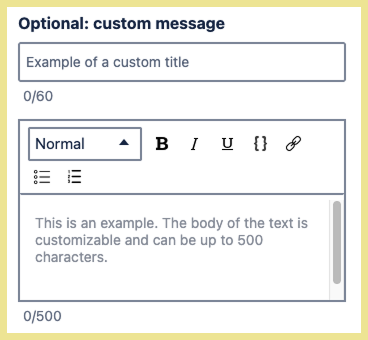
If you do not want to use the default text that shows in preview then customize the message that users sees arrive on the page.
HTML is not allowed in the custom message fields. The WYSIWYG editor is the only option. It allows to create headings, bold, italics, underline, monospace, bullet points or numbering.
Preview
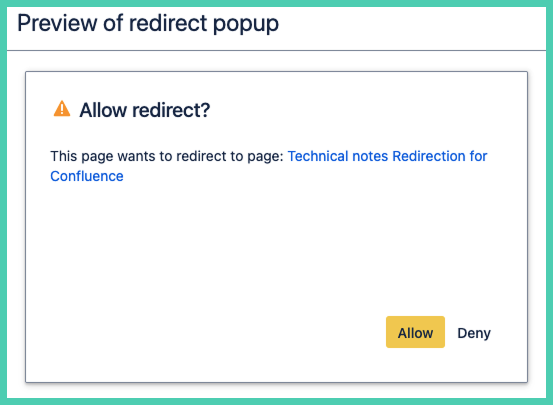
The preview is what the user will see when they arrive on the page.
This example uses the default message, not the custom message. The blue hyperlinked text depends on what you selected under Redirect to. If you disable the Deny option the button will be removed in the preview.
Note: when you disable the popup the preview still shows, but the user will not see any popup.
Save

Save a draft/temporarily remove
If you might want to use the redirect later disable it, rather than deleting it. Disabling turns off the redirect but saves configuration, meaning if you re-enable it later the fields you entered are saved.
Delete an existing redirect

A red ‘Delete redirect’ option will show when an existing redirect is opened. This includes when it is disabled.
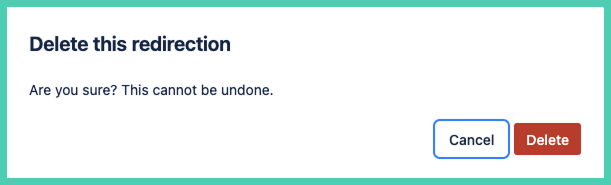
This is permanent. All custom messages are lost.